


My May Challenge - Copy a shop bought dress
Yes I know can you believe it I actually bought a dress, it was an impulse buy, I was actually looking for a faux leather jacket and just saw it and had to try it on.
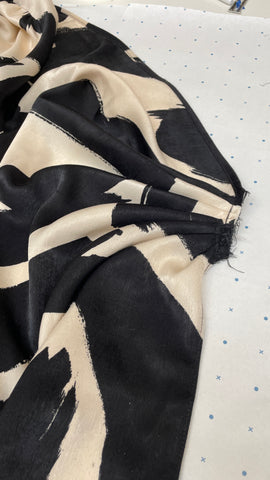
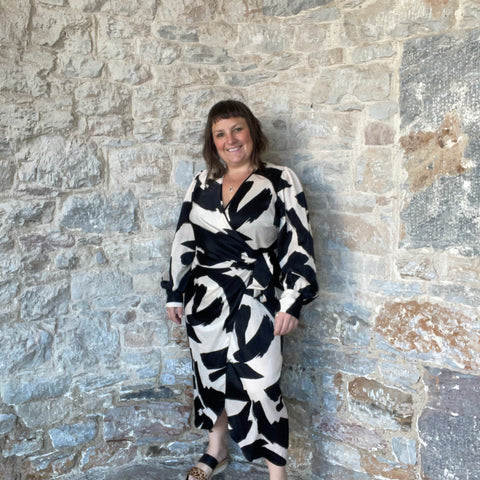
It was the combo of the black and creamish fabric and the style that I just loved, when I put it on it felt really good, the stye shape etc really suited me. BUT the fabric was awful, so static and not very breathable. So I did buy it but with the intention of copying the pattern.
Challenge accepted!
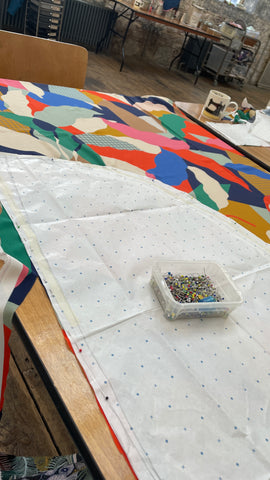
I didn't want to take the dress apart so I used a tracing wheel and some dots and crosses paper, with the help of our fabulous sewing teacher Margaret I got copying.
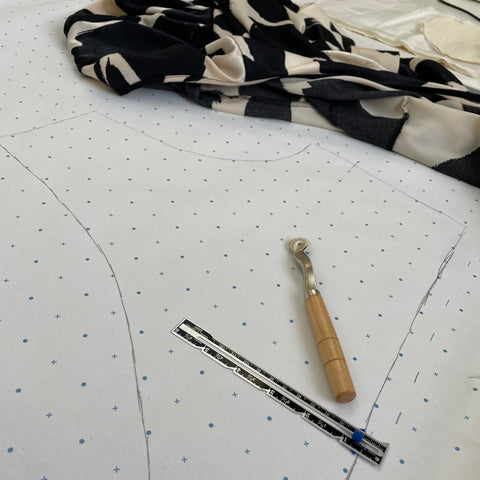

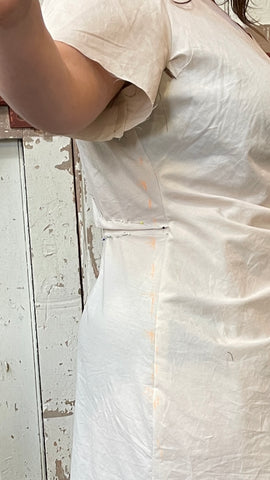
Most of it went according to plan apart from the front section, it has a lovely large gather and despite our best efforts we decided the best way to see what the front panel pattern piece looked like was to unpick slightly.
I am so glad I did as I would never have guessed or worked out the shape with the tracing wheel.
Look at the shape of the front panel the armhole is on the side of the dress and the gathers are the whole front section at the top and top of the side.
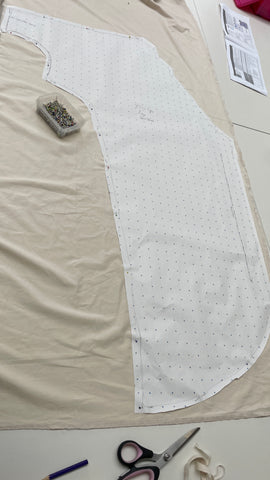
Now for a toile, using an old bed sheet as it was lightweight I cut out the pattern I copied.
Now a few things to note, I didn't want long sleeves, its warm and I was aiming for a short sleeved summer version. I did want to slightly extend the wrap section of the dress so that my legs weren't popping out all the time so there were a couple of additions/changes to the original dress.
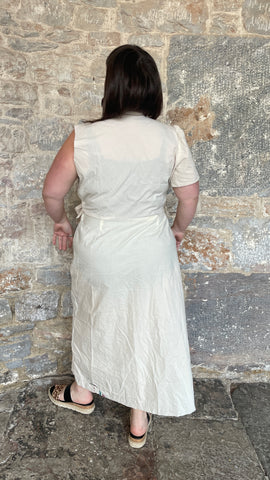
Toile number one came out pretty good to be honest, but on closer inspection there were some adjustments that needed to be made.
I totally took out the back darts in the top section, I needed to take some fabric out of the back pieces to make it fit around by backside, with doing this meant the side seams weren't straight. Margaret (our amazing sewing teacher) drew on my toile to get the seam in the right place.
Second toile, this also went well, all the adjustments I made I was really happy with and so onto the final dress.

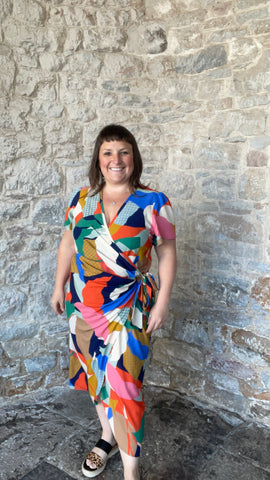
I had the fabric set out ready for this sew, which was a stunning Atelier Jupe viscose, which I sadly have sold out of now but it LOVE it, such beautiful fabric. We do have some other Ateilier Jupe fabrics in so check them out here.
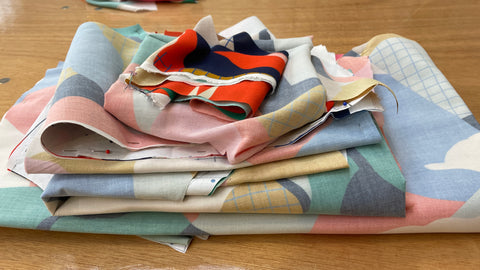
This is a lovely soft viscose, which was a dream to sew with, I just made sure I was careful with my pining and I used a microtex needle to sew with as it is delicate fabric.
I did have a bit of a nightmare with my sleeves, I wanted a little gather on the top but with such a drapey fabric I struggled to get even gathers. I think one of the sleeves I had to unpick three times, leave it and do the other one and then come back to it before it worked! But thats what happens sometimes in sewing doesn't it!
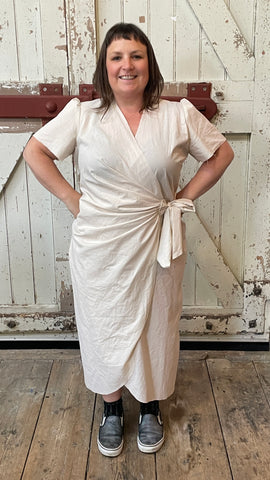
The last adjustment I made was the front section was just overlapping slightly without the front V sitting int he middle so I trimmed the front edge down slightly and I am much happier with the final dress.
The original dress
The Final Piece
More photos of the dress
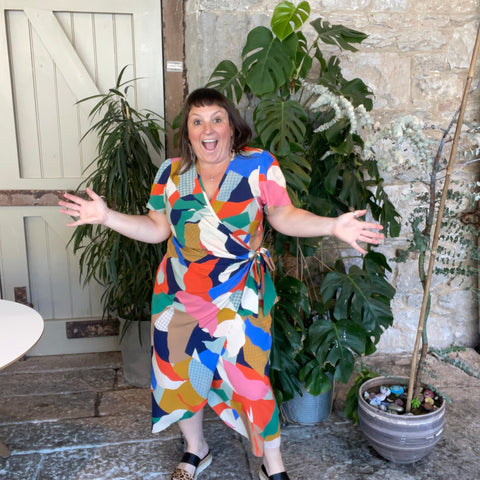


Check out my social media for a little video of the completed dress.
I think one thing i have definitely realised is when we buy from shops, we quite often put up with something not being perfect because we don't have any choice but when you sew for yourself you get really fussy, those fit issues really stand out and to get these perfect making a toile is the way forward. Enjoy the process and get it right, after all that is why we sew our own clothes.
Leave a comment